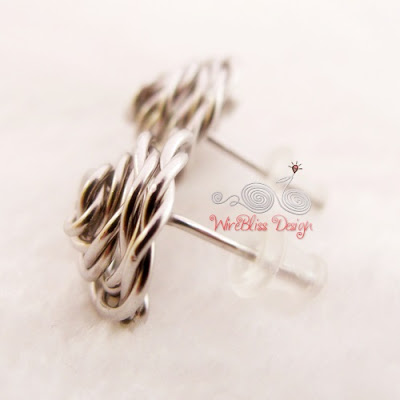
A wire wrapped cat stud earrings made in a whim.
Not difficult to wire wrap these little kitties.
Lots of hammering to harden the body and head though.
Inspiration from my dear old cats from a long long time ago, our neighbor's cats as well as the many inspirations from the world wide web.
If dogs are man's best friend...then
Cats are woman's best friend!!
Showing posts with label Earrings. Show all posts
Showing posts with label Earrings. Show all posts
Tuesday, April 12, 2016
Thursday, March 10, 2016
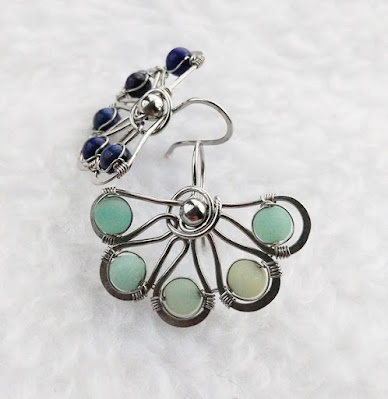
Wire Wrapped Flora Earrings
Where have all the days gone?
Just blink and almost end of 2nd week of March.
Been wanting to post this earrings since the last post.
Remember the post about my failure.
That was last month but feels like it was only yesterday.
OK, this is the outcome of that many tries.
Not very satisfied but not so badlah.
Wire is 20g and hammered hard.
Wrapped each side of the earrings with different type of gemstone beads.
One side is wire wrapped with Lapis Lazuli.
The other with 4mm frosted Amazonite.
Close up pic is not close enough but that is the closest I could get with my hand-phone camera.
My "camera" is about to die of old age.
Time to look/get a new camera - *sigh* but the one I am drolling at is just so damn expensive *sigh*.
Then there is the 4mm stainless steel spacer beads.
Someone commented that the style of the earrings look "oldish" i.e. suit older woman.
I do not agree but that is her honest opinion and no offence because i trust her 200%.
Right now I am thinking about retiring 1 or 2 of my tutorials at Etsy and Artfire
Wait for the announcement.
Till then have a great week and happy creating.
Tuesday, February 23, 2016
First Fail of 2016 - Lack of Inspiration and Warming Up
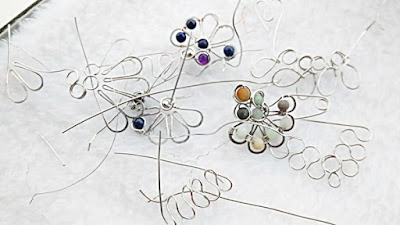
After few months away from my pliers, wires and stones, and finally finding a temporary "corner" as my work station, look at what I have been making.
Supposed to be a flora earrings.
*Sigh*..... dunno what I was doing.
Bend left and right still didn't get it them right.
I have it in my mind but somehow the fingers and bending was not working as it should be.
At some point, I think it is the wire size....ermmmm.
The gemstone beads maybe.
Arrrrrgh! Grrrrrrrr! Geramnya!
First wire jewelry of the year of 2016 and this is what I came up with after several attempts.
Total failure! Thought it was easy to pick up where I left, but actually not as easy as in my mind.
Supposed to be a flora earrings.
*Sigh*..... dunno what I was doing.
Bend left and right still didn't get it them right.
I have it in my mind but somehow the fingers and bending was not working as it should be.
At some point, I think it is the wire size....ermmmm.
The gemstone beads maybe.
Arrrrrgh! Grrrrrrrr! Geramnya!
These 3 tries abandoned for another day.
Those frosted colored gemstones are 4mm frosted amazonite while the dark blue colored are Lapiz Lazuli.
Those frosted colored gemstones are 4mm frosted amazonite while the dark blue colored are Lapiz Lazuli.
Monday, September 14, 2015
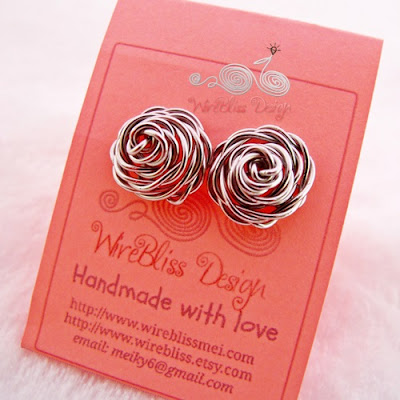
Wire Jewelry - Wire Wrapped Rose Earrings - Non Soldered
Hi! Happy Monday!
Yikes, still lazy to start anything but this will be a quick post for today.
Here's a pair of Wire Wrapped Rose Earrings, which (I couldn't believe it!!!) was completed few months back but I somehow forgot to post.
There are a few more earrings that were in the same batch but that would be for later.
This rose earrings here is a stud.
No soldering involve at all.
The process of creating them is similar to my "Wire Wrapped Rose Earrings Tutorial at Etsy" but with a little bit modification. Nevertheless, you'll get the idea if you go thru the steps.
And yes, this is a quick project, maximum 30 minutes of your time.
Haha....I always love simple (but elegant) and quick project.
Have a great week ahead.
Wednesday, July 22, 2015
Tutorial Packages for Ring and Earring Projects
These are for Ring and Earring people.
I know some of you are ring people and like to make ring projects only.
Others may be earrings people and prefer earring projects only.
There are pendant and bracelet people too.
Hope I am right :)
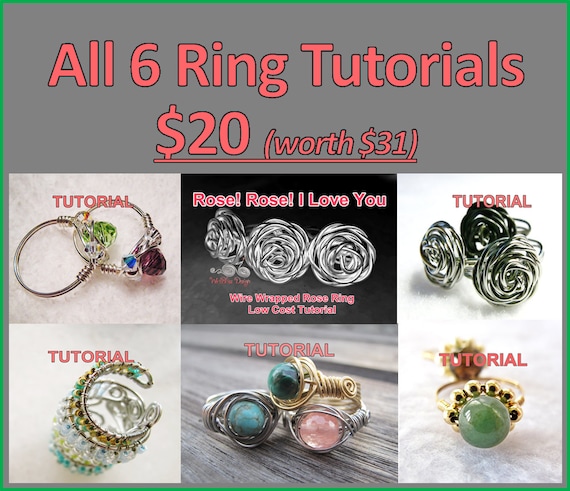
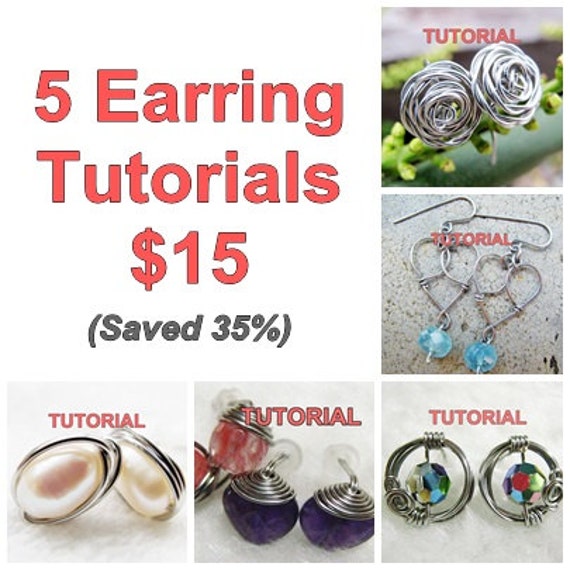
Today I put together 2 tutorial packages, each for RING projects and EARRING projects.
The RING Package made up of all 6 tutorials available.
As a package, I am offering it at 35% less i.e. $20.00 only.
That is about $3.30 for each tutorial.
You can get the tutorial package here - RING Tutorial Package
The EARRING Package made up of all 5 tutorials available.
As a package, I am offering it at 35% less i.e. $15.00 only.
That is $3.00 for each tutorial.
You can get the tutorial package here - EARRING Tutorial Package
Both tutorial packages are available via Instant download.
You will receive an automatic email notification letting you know the file is ready on the Downloads page.
I am open to suggestions.
Let me know if you prefer other packages and we can work it out from there.
Tuesday, August 19, 2014
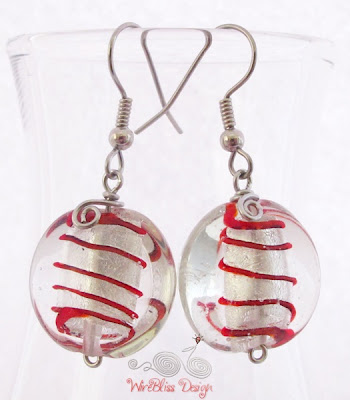
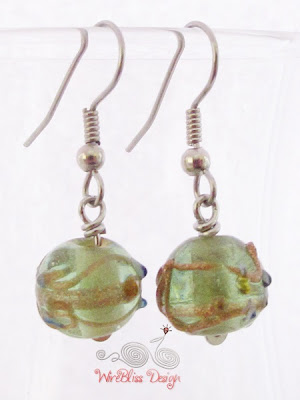
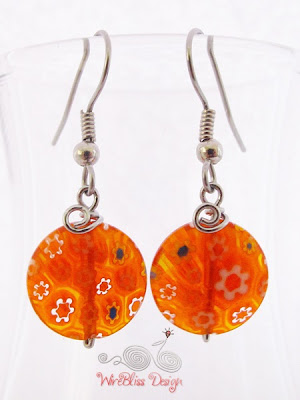
Wire Jewelry - Dangle Earrings with Glass Beads
Completed these dangle earrings last weekend.
These are quick and easy projects. About an hour of your time is sufficient.
Except for the roses which are ceramic, the rest are glass beads including Millefiori glass beads.
Happy viewing :)
These are quick and easy projects. About an hour of your time is sufficient.
Except for the roses which are ceramic, the rest are glass beads including Millefiori glass beads.
Happy viewing :)
Thursday, July 17, 2014
Wire Jewelry - Wire Wrap Rose Studs
Just a pair of simple wire wrapped rose studs.
Used 22g stainless steel wire.
This is an easy project.
If you'd like to DIY, the tutorial is available here.
▼The earhooks is slightly different from my earlier rose earrings.
▼Ready to ship :)
Used 22g stainless steel wire.
This is an easy project.
If you'd like to DIY, the tutorial is available here.
▼The earhooks is slightly different from my earlier rose earrings.
▼Ready to ship :)
Wednesday, July 02, 2014
Back to Jewelry, Some Sparkly SC Bracelets
For the last few weeks I have not been very productive with my wire jewelry. There are few project ideas in the head but somehow time is not on my side, as usual ☹
Associate link - hover your mouse over the picture below.
A book by Deryn Mentock.


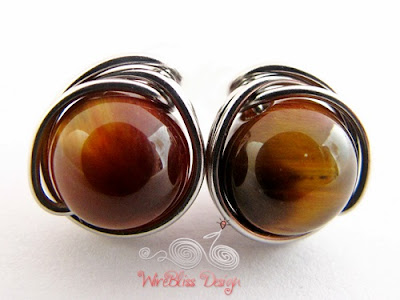
Then, there is the wire wrapped stud earrings.
This time around is a tiger eye.
You can make this yourself.
The step by step tutorial is available at my Etsy shop, click *here* (direct download).
And down here is a book by Abby Hook another fellow wire wrapper.
Hover your mouse over the picture.


Happy wrapping!
Hope to be wire wrapping more in the coming weeks.
Completed several commissioned pieces. Here's one of them - wire wrapped Swarovski Crystal bracelets. All of them wire wrapped with gold filled wire. Look simple enough but took me about 45 minutes to complete each.
That's roughly about 15 hours of work.
That's roughly about 15 hours of work.
Associate link - hover your mouse over the picture below.
A book by Deryn Mentock.
Then, there is the wire wrapped stud earrings.
This time around is a tiger eye.
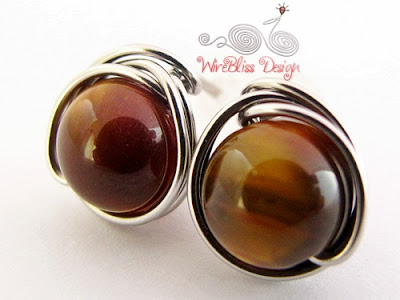 |
The step by step tutorial is available at my Etsy shop, click *here* (direct download).
And down here is a book by Abby Hook another fellow wire wrapper.
Hover your mouse over the picture.
Happy wrapping!
Hope to be wire wrapping more in the coming weeks.
Wednesday, April 16, 2014
Wire Jewelry - Wire Wrapped Pearl Studs
Made a couple of these simple wire wrapped studs the other day. All of them are pearl studs of different sizes, shapes and colors.
If you'd like to make them yourself, which would take about 30 minutes or less of your time (for a pair), you can find the tutorial here:
At Etsy, click *here*
 |
| The oblong/teardrop shape pearls really look pretty with this wrap. |
 |
| A bit of modification to the top of the earring - added a small loop. |
 |
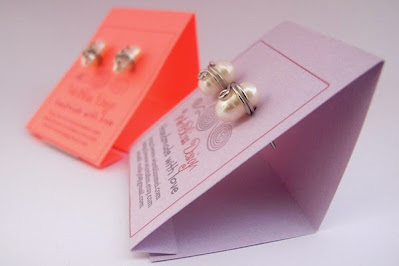
| On the DIY Earring Cards. |
.JPG) |
| Ready to ship :) - Actually already shipped |
Thursday, April 10, 2014
DIY Earring Cards
The idea started long time ago but it didn't materialise until recently. I kind of procrastinated over it and just can't decide on the design. Same as my DIY Light Box previously.
Was thinking if I keep doing this (the procrastinating part - I do this a lot!), it will never going to happen. The other day I got a bunch of order for stud earrings (post about them later) and decided to create this earring cards once and for all. It is not final as I am forever changing the layout and design in my head but good enough for now.
What do you think of my DIY Earring Cards?
 |
| WireBliss logo in front together with websites and email address. The white patch at the center of the purple card is double sided tape. You can use stapler as well. |
Here is the process involved.
I use Microsoft Word to create my cards as I am most familiar with it - use it everyday!
I use Microsoft Word to create my cards as I am most familiar with it - use it everyday!
Alternatively, you can also use Power Point, Excel, Google doc, etc. etc. whichever you are familiar with.
So, here goes:
- Create an image/design (jpeg file or any picture file) that you'd like to place at the front of your earring card. If you don't have one, you can leave it blank - which means you can skip this step.
- Since I have my logo in jpeg, I use that and added my website address below it.
- In a new Word document, create a table (or insert table).
- If you do not know how to create table in Word, google or check it out here - create table
- Depending on the card size you want, determine the number of column for the table.
- Mine is 5 columns and 4 rows (1 column x 4 rows represent 1 card). The purpose of multiple rows is for ease of adjusting the height.
- In the table, place the cursor at the spot where you would like to insert the image. Click on insert image, and look for the image you'd like to insert.
- Make adjustment to the column width and row height till you have your desired earring card size, print it out on a piece of thick paper (100 gm).
- I make the table borders visible so that I know where to cut and fold later on.
- Cut the cards along the borders as shown below.
- Use a needle to make 2 holes on each card and you are done.
If you have other ways of making earring cards, do share or leave me a comment.
Wednesday, February 12, 2014
Wire Jewelry - Wire Wrapped Pearl Studs and Tutorial
Looks familiar?
Yeah, I' ve made many many many of this studs before.
Check them out here, here, here, here, here, here and here.
On how to make this wire wrapped stud earrings, the tutorial (Direct/Instant Download) is over at my e-shops here:
Here are some of the earrings done by others based on my tutorial.
Louise and Don's Version
Linda of CrazedMagpie
Yeah, I' ve made many many many of this studs before.
Check them out here, here, here, here, here, here and here.
On how to make this wire wrapped stud earrings, the tutorial (Direct/Instant Download) is over at my e-shops here:
- Wire Wrapped Stud Earrings at Etsy
Wire Wrapped Stud Earrings at Craftsy
 |
| You can make this pair of stud earrings in less than 30 minutes :) |
 |
| This project is for the very beginner in wire jewelry. You need minimum tools to make this. |
Here are some of the earrings done by others based on my tutorial.
Louise and Don's Version
 |
| Don added a little bow on top. |
 |
| Linda's version. |
Sunday, April 28, 2013
I did it Upside Down
Don't get any naughty ideas :)
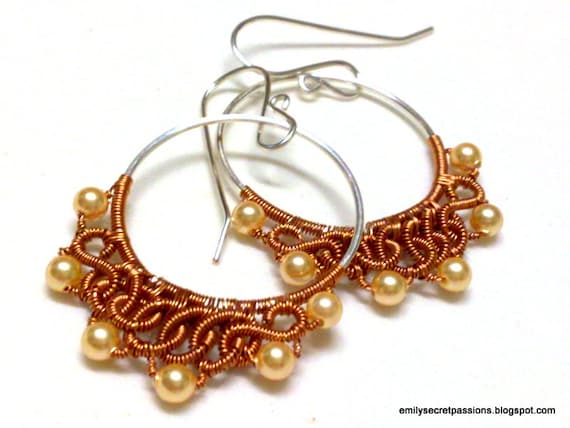
I am referring to the Coiled Filigree Earrings by Emily.
Tried out the project yesterday.
Well, I didn't follow through the tutorial.
Reason being I got flooded with other ideas halfway through the project.
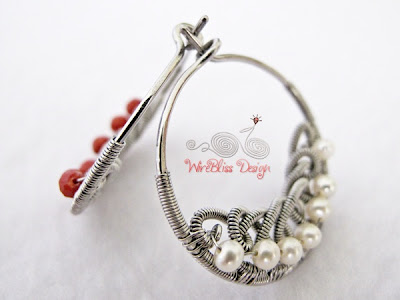
First, while making the hoop, I decided to change it from dangle to hoop earrings.
The size of the hoops are maintained at 2.5cm in diameter.
Then, when the coils were completed, and I was getting ready to attach it to the bottom of the hoop, another idea came to mind.
Ermmmm....how would it look like if attach to the inside of the hoop instead?
That is how I ended up with an upside down version of Emily's Filigree earrings. Instead of this
....a hoop filigree earrings
The beads, coral and pearl were wire wrapped to the bottom.
How do you like my version of the Coiled Filigree Earrings :)?
Hope you like them.
I love them.
If you would like to learn how to make a Coiled Filigree Earrings, check out Emily's Tutorial here.
Who knows you might be flooded with more ideas than me.
Emily, thanks for the inspiration.
I am referring to the Coiled Filigree Earrings by Emily.
Tried out the project yesterday.
Well, I didn't follow through the tutorial.
Reason being I got flooded with other ideas halfway through the project.
First, while making the hoop, I decided to change it from dangle to hoop earrings.
The size of the hoops are maintained at 2.5cm in diameter.
Then, when the coils were completed, and I was getting ready to attach it to the bottom of the hoop, another idea came to mind.
Ermmmm....how would it look like if attach to the inside of the hoop instead?
That is how I ended up with an upside down version of Emily's Filigree earrings. Instead of this
....a hoop filigree earrings
The beads, coral and pearl were wire wrapped to the bottom.
Hope you like them.
I love them.
If you would like to learn how to make a Coiled Filigree Earrings, check out Emily's Tutorial here.
Who knows you might be flooded with more ideas than me.
Emily, thanks for the inspiration.
Subscribe to:
Posts (Atom)
