You may find this slightly different from what you are used to seeing as I didn't use any crimp bead. Nevertheless, the end result is still the same.
How much time needed?
Allocate about an hour to make 3.
Yeah! A quick and easy project.
Lets get started.....
Materials:
The above picture shows materials required for 2 bracelets and a necklace.
For each, you will need:
Step 1: Thread all the beads. I thread all at once as I will string each bracelet one after the other. This way also ensure no wastage of your string.
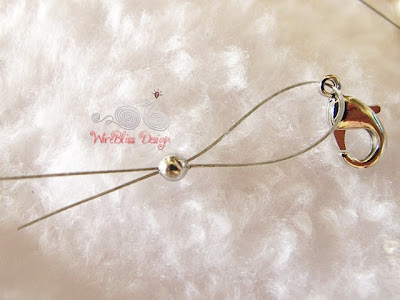
Step 2: Insert the metal bead followed by the clasp.
Step 3: Bring the string back through the metal bead.
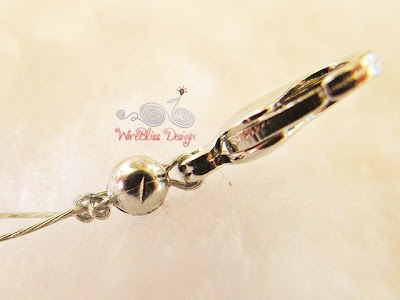
Step 4: Move the metal bead towards the clasp to tighten and tie a knot close to the metal bead.
Yeah, a knot instead of crimp.
Step 5: Tie another round of knot if you like and cut off excess string.
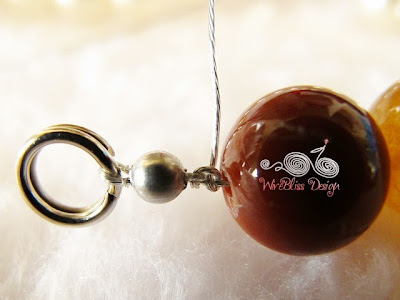
Step 6: On the other end, insert the metal bead, bring the wire over the split ring and back through the metal bead. Tighten and tie a knot or two.
Step 7: Cut off excess string and your are done.
Repeat the above with the next group of beads.
If you have questions, feel free to add comment or use the contact form at the top right hand side of this page.
Happy stringing!


No comments:
Post a Comment
I like to hear what you have in mind. Thank you for your time.